 Call us now:

Making your own wedding cake topper is a wonderful way to add a personal and unique touch to your special day. Whether you’re new to DIY or have some crafting experience, this guide will walk you through simple, clear steps to help you craft a stylish, memorable figure using easy-to-find materials.
Why Create a DIY Wedding Cake Topper?
A DIY cake topper allows you to showcase your personality and style. Instead of a generic store-bought item, you get something meaningful and one-of-a-kind. Plus, making it yourself can save money and bring you satisfaction knowing you added something handmade to your wedding.
What Materials Do You Need for a DIY Cake Topper?
The choice of materials affects both the look of your topper and how easy it is to create. Below is a comparison of common materials to help you decide what fits your needs best:
| Material | Advantages | Disadvantages | Best Use |
|---|---|---|---|
| Polymer Clay | Flexible, easy to sculpt, durable after baking, customizable colors | Requires baking to harden, can be fragile if thin | Sculpted figurines with fine details |
| Wood | Sturdy, natural look, can be painted or engraved | Needs carving tools, heavier | Minimalist or rustic designs |
| Paper & Cardstock | Lightweight, inexpensive, easy to decorate | Less durable, sensitive to moisture | Silhouette or floral designs |
| Air-Dry Clay | No baking needed, easy to mold, affordable | Less durable, can crack if not sealed | Simple figurines and shapes |
| Resin | Glossy finish, very durable, can embed objects | Requires safety precautions, takes time to cure | Modern, polished designs with personalized inclusions |
How Do You Start Making Your Cake Topper?
The key is to plan your design first. Pick a style that fits your wedding theme and personality. Then choose materials based on your skill level and what you want the topper to look like.
- Decide on the figures: bride and groom, pets, initials, or symbolic shapes.
- Sketch or find reference photos to guide your crafting.
- Gather your materials and tools based on the chosen material (e.g., polymer clay, paint, brushes).
What Are the Basic Steps to Create a Polymer Clay Cake Topper?
Polymer clay is popular because it’s easy for beginners yet versatile. Here’s a simple process you can follow:
- Condition the Clay: Knead the clay until soft and easy to shape.
- Shape the Figures: Use your hands and simple tools (like toothpicks or a small knife) to sculpt the figures.
- Add Details: Use different colors or small bits of clay to add faces, clothing, or accessories.
- Bake the Figures: Follow the package instructions, usually around 275°F for 15-30 minutes.
- Paint/Seal: After baking and cooling, add paint details if needed and seal with a clear varnish to protect.
- Attach Base: Fix the figures to a wooden or acrylic base with strong adhesive or wire supports.
Which Tools Help You Craft Easier and Look More Professional?
Investing in or gathering a few simple tools can make a big difference:
- Clay shaping tools (available in sets or use household items like toothpicks, needles)
- Small paintbrushes for detail
- Clear varnish or sealant spray
- Strong glue or wire for assembly
- Sandpaper (for smoothing surfaces if needed)
What Common Mistakes Should You Avoid When Making a Cake Topper?
Keep these in mind to save time and achieve a great result:
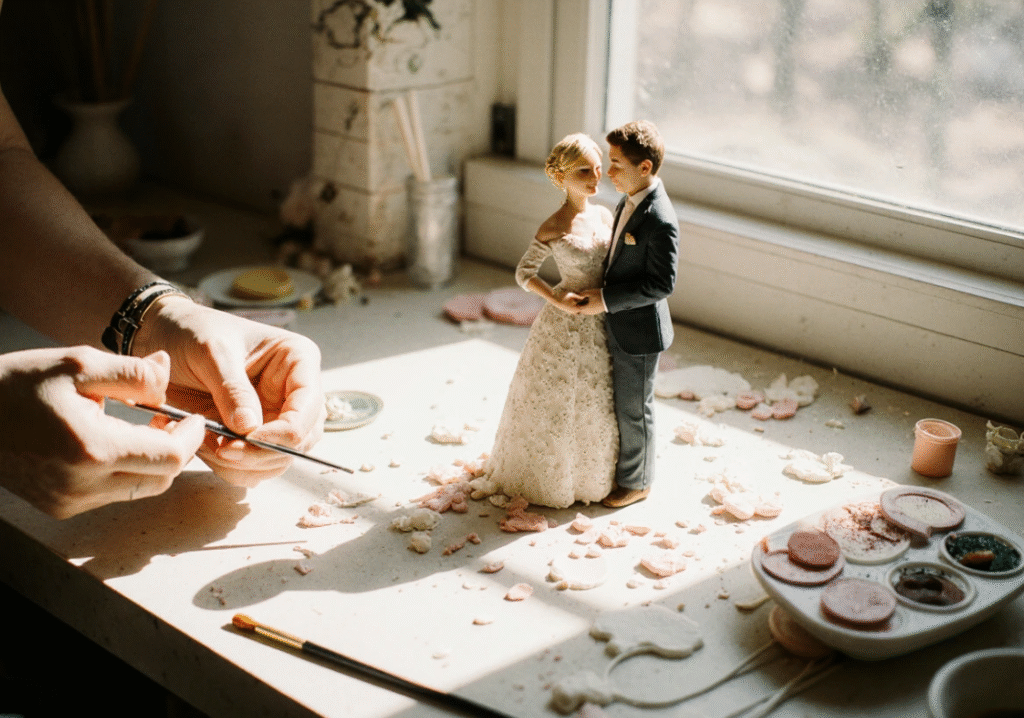
1. Ignoring Scale and Size
Many start with a design that’s too large or too heavy for the cake. It should be lightweight and proportional to avoid sinking or toppling over.
2. Skipping Test Pieces
Jumping straight into the final piece without experimenting can lead to frustration. Testing small parts helps you understand your materials better.
3. Using the Wrong Adhesive
Not all glues work with every material. Choosing the wrong one can cause pieces to fall apart mid-event.
4. Not Sealing or Finishing Properly
Without a protective finish, your topper might get smudged, stained, or damaged during the celebration.
5. Overcomplicating the Design
Keeping the design manageable based on your skill ensures a neat final product without frustration or wasted materials.
Expert advice from Jason Lee, Wedding DIY Specialist: “Always bake polymer clay in a dedicated oven or toaster oven to avoid food contamination and maintain temperature control.”
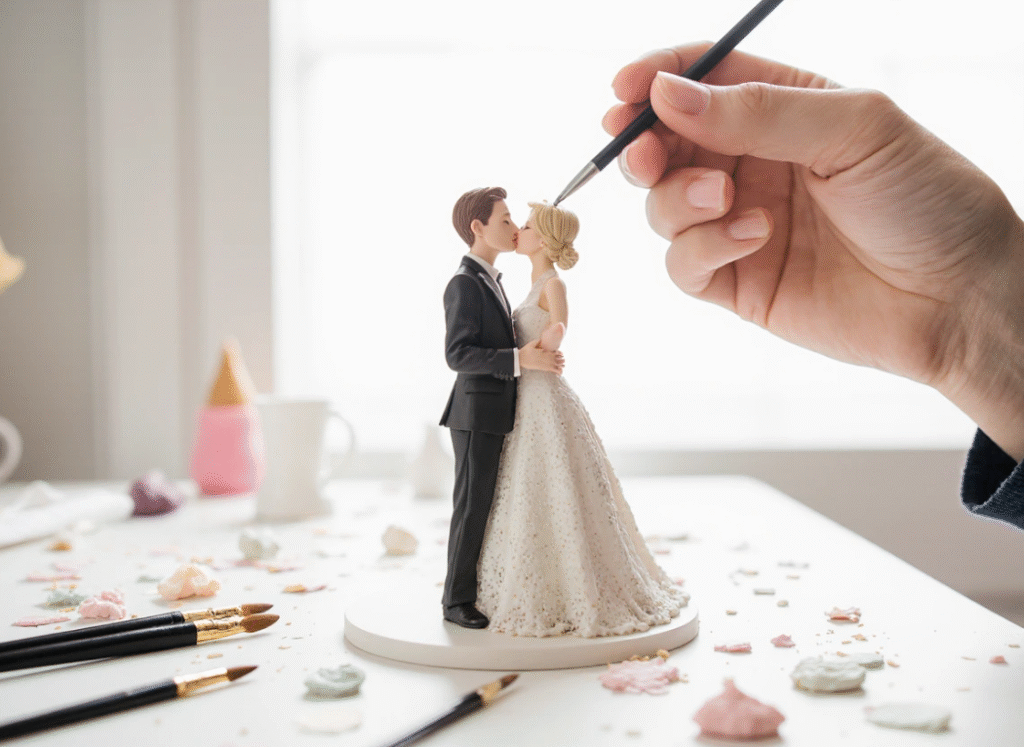
Expert advice from Mia Roberts, Clay Sculptor: “Use a matte finish varnish to avoid glare in photos, while still protecting delicate clay details.”
What Are Some Creative Ideas to Personalize Your Wedding Cake Topper?
Adding personal details makes your topper special. Here are a few ideas:
- Include pets doing something playful
- Use your wedding colors for clothing or base accents
- Create caricature styles for a fun twist
- Include small props like bouquets, hats, or musical instruments
- Add names or dates using tiny letter beads or painted details
How Can You Ensure Your Cake Topper Lasts After the Wedding?
Preserving your topper allows you to keep a lovely memento. Here’s what to do:
- Store it in a cool, dry place away from direct sunlight to prevent fading.
- Keep it dust-free using a clear display box or airtight container.
- Avoid exposure to moisture or heat, especially if made from air-dry clay or paper.
Engineering Tips for Stability and Durability
Crafting a cake topper isn’t just about looks; it must stand firm and last through the wedding day.
- Use thin but strong wiring inside clay figures for internal support.
- Select a steady, flat base that’s bigger than the figurines for balance.
- Apply glue in spots that won’t be seen but will hold the best.
- Allow complete curing or drying of materials before assembling.
- Consider weight distribution — heavy heads on thin necks can topple easily.
What Final Steps Complete Your DIY Wedding Cake Topper?
Once assembled and cured, do a final quality check:
- Test the topper stability on a flat surface before placing it on the cake.
- Check for loose pieces or cracks, fixing or reinforcing as needed.
- Take photos to remember your creation!
- Transport it carefully on the day of the wedding, preferably in a secure box.
Ready to Try Your Own DIY Wedding Cake Topper?
With this simple guide, you don’t have to be a pro to create a charming topper that reflects your wedding style. Choose your materials, take your time, and enjoy the process. Handmade touches like these add lasting memories to your celebration.